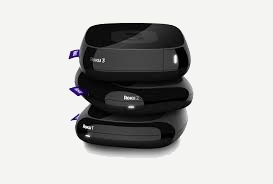
 Like to stream movies and TV shows? Then more than likely, you’ve encountered a streaming media player at some point. While they can be connected to a wired home or office network, enjoying the convenience of Wifi just doesn’t seem to evade us. For those of you that have settled on the Roku streaming media player, here are a few tips to get you started and connected to Wifi.
Getting Started
To begin, you’ll need your Roku device and accessories, a Wifi connection, and an HDMI cable if you’ll be connecting your device to a high-definition TV (HDTV). Otherwise, have your component/composite cables handy for a standard definition TV. Connect the cables of your choice from your Roku media player to the back of your TV.
Connect to Wifi
- Step 1: Power on your Roku device
- Step 2: From the home screen select Settings
- Step 3: Select Network
- Step 4: Select Wireless
- Step 5: Your Roku device will now scan for all wireless networks in range
- Step 6: Select your network name from the list and choose Connect & enter your wireless password for your WiFi
- Step 7: Your wireless information should come up on the screen once the connection is successful.
Enjoy the Stream
One you’ve connected your Roku device to your Wifi connection, the media player will reboot and update to the latest software for your particular device. You’ll then proceed through the set up screen and be quickly on your way to enjoying the channels that you select. Happy streaming!
MAR
